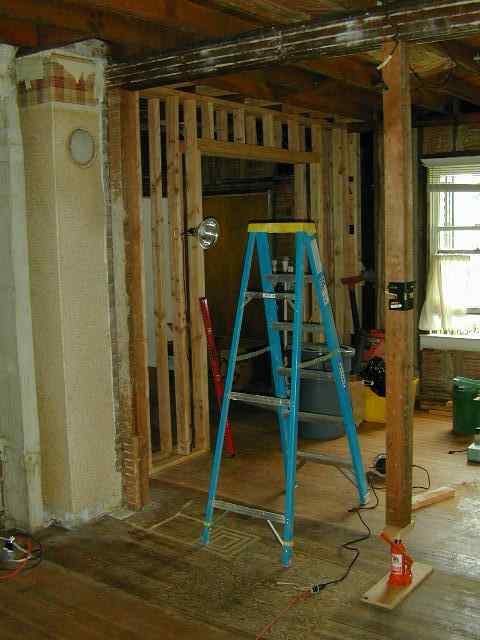
| We jacked up the beam so it wasn't sagging so much while we sistered a 2x12 to either side. There's a jack in the basement under this one so we didn't go through the floor. (The front door can be seen behind the ladder.) Note the patched hole in the chimney and the mysterious plywood patch on the floor to the left of the jack. The floor here, running under the beam, is much more worn than on either side. Speculation includes: a completely walled-off corridor that provided access to a root cellar, or a big wood-burning stove stood where the plywood patch is. Who knows? |  |

|
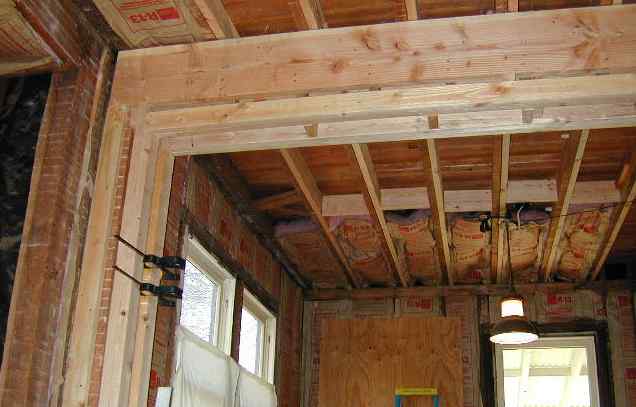
Reverse angle of the new and improved version. The 2x4 headers below are merely decorative--to give more of a visual break between the two rooms. We also sistered the 2x6 ceiling joists for a more rigid floor upstairs. Of course this required new bridging between the joists. Until we get a nail gun, 3.5" screws are our friends. Where the insulation is packed in above the light was dead space. It will become a closet in the master bedroom. |
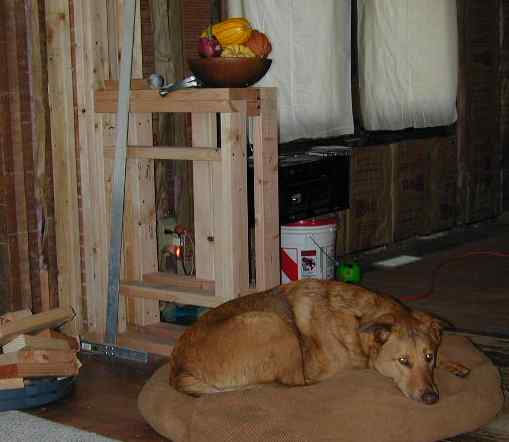
| One of the new wing walls. There is an opening for a bookcase and a column will eventually extend to the ceiling where the bowl of squash is. Rufus has learned to live with the our racket. Although, I'm sure he wonders what the hell we're doing. |  |